Rotations in Early Childhood Special Education

Sunday, July 29, 2018


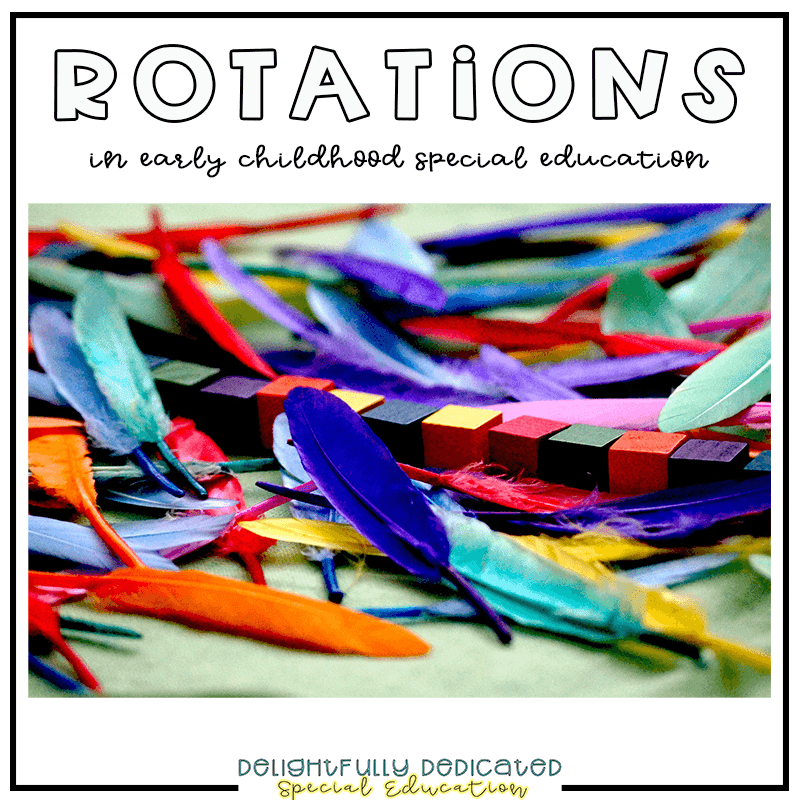
I cannot believe a new school year is right around the corner! I love the excitement that I new school year brings. I also love the planning and preparation that I new school year brings. I have slowly been easing myself back into "work mode," analyzing my class schedule, staff assignments, and rotation activities. Today, I will be sharing some of my ideas for rotations in early childhood special education (ECSE). With that said, while I teach ECSE and focused on ECSE when creating these rotations, these ideas can work for other special education classrooms as well.

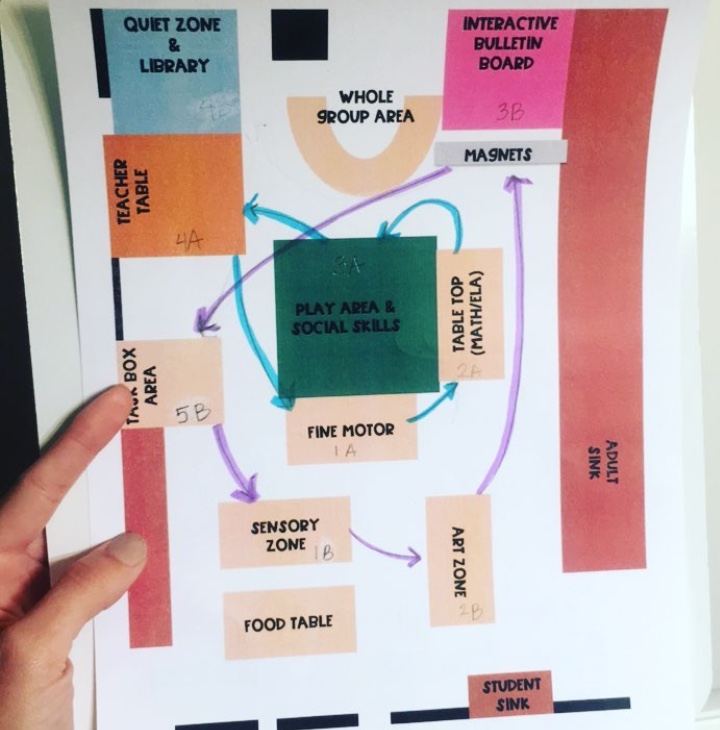
How do you get the students to your table? 

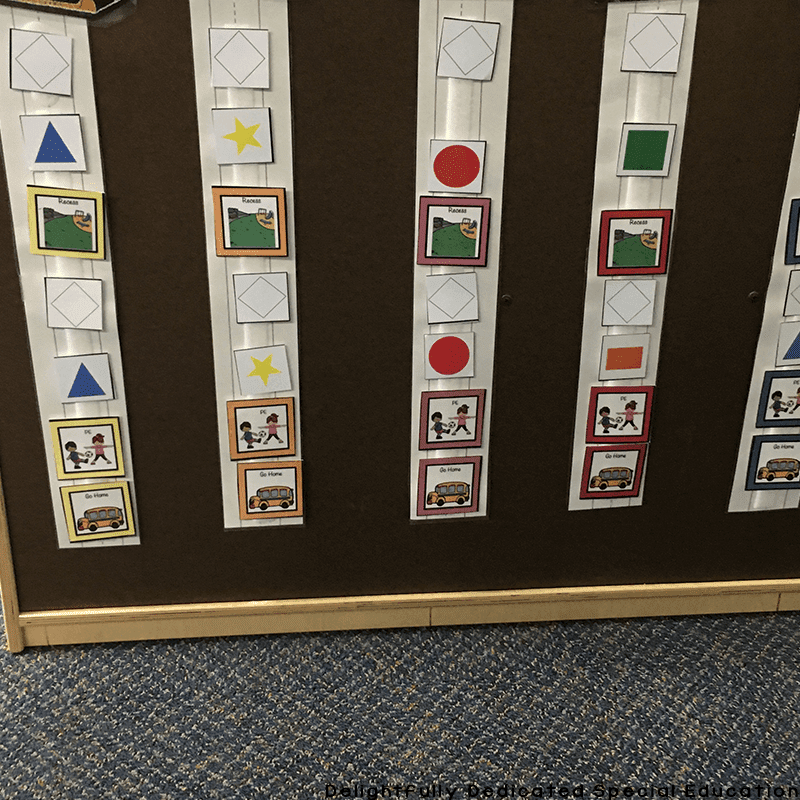
If you are interested in learning about how I get my students to my rotation activities, check out my color coded classroom blog post here. It talks all about my schedule system. Today, we will be talking more about the WHAT we do at the rotation tables.

How many rounds of rotations do you do each day?

I recommend doing two rounds of rotations. I recommend the first round of rotations to be the more academic "goal" work and the second round of rotations to be the more social and "fun" work. I recommend doing this because students tend to be a bit more motivated and focused earlier in the day. Also, anything can happen towards the end of the day. Get the goal work done and the data collected at the beginning of the day so that you do not have to worry about it.

How many rotation activities do you have during each round? 

I have three rotation tables during the first round of rotations and four rotation activities during the second round. This will vary depending on the number of students you have and the number of staff you have.

What are your rotation activities?

First round of rotations: 
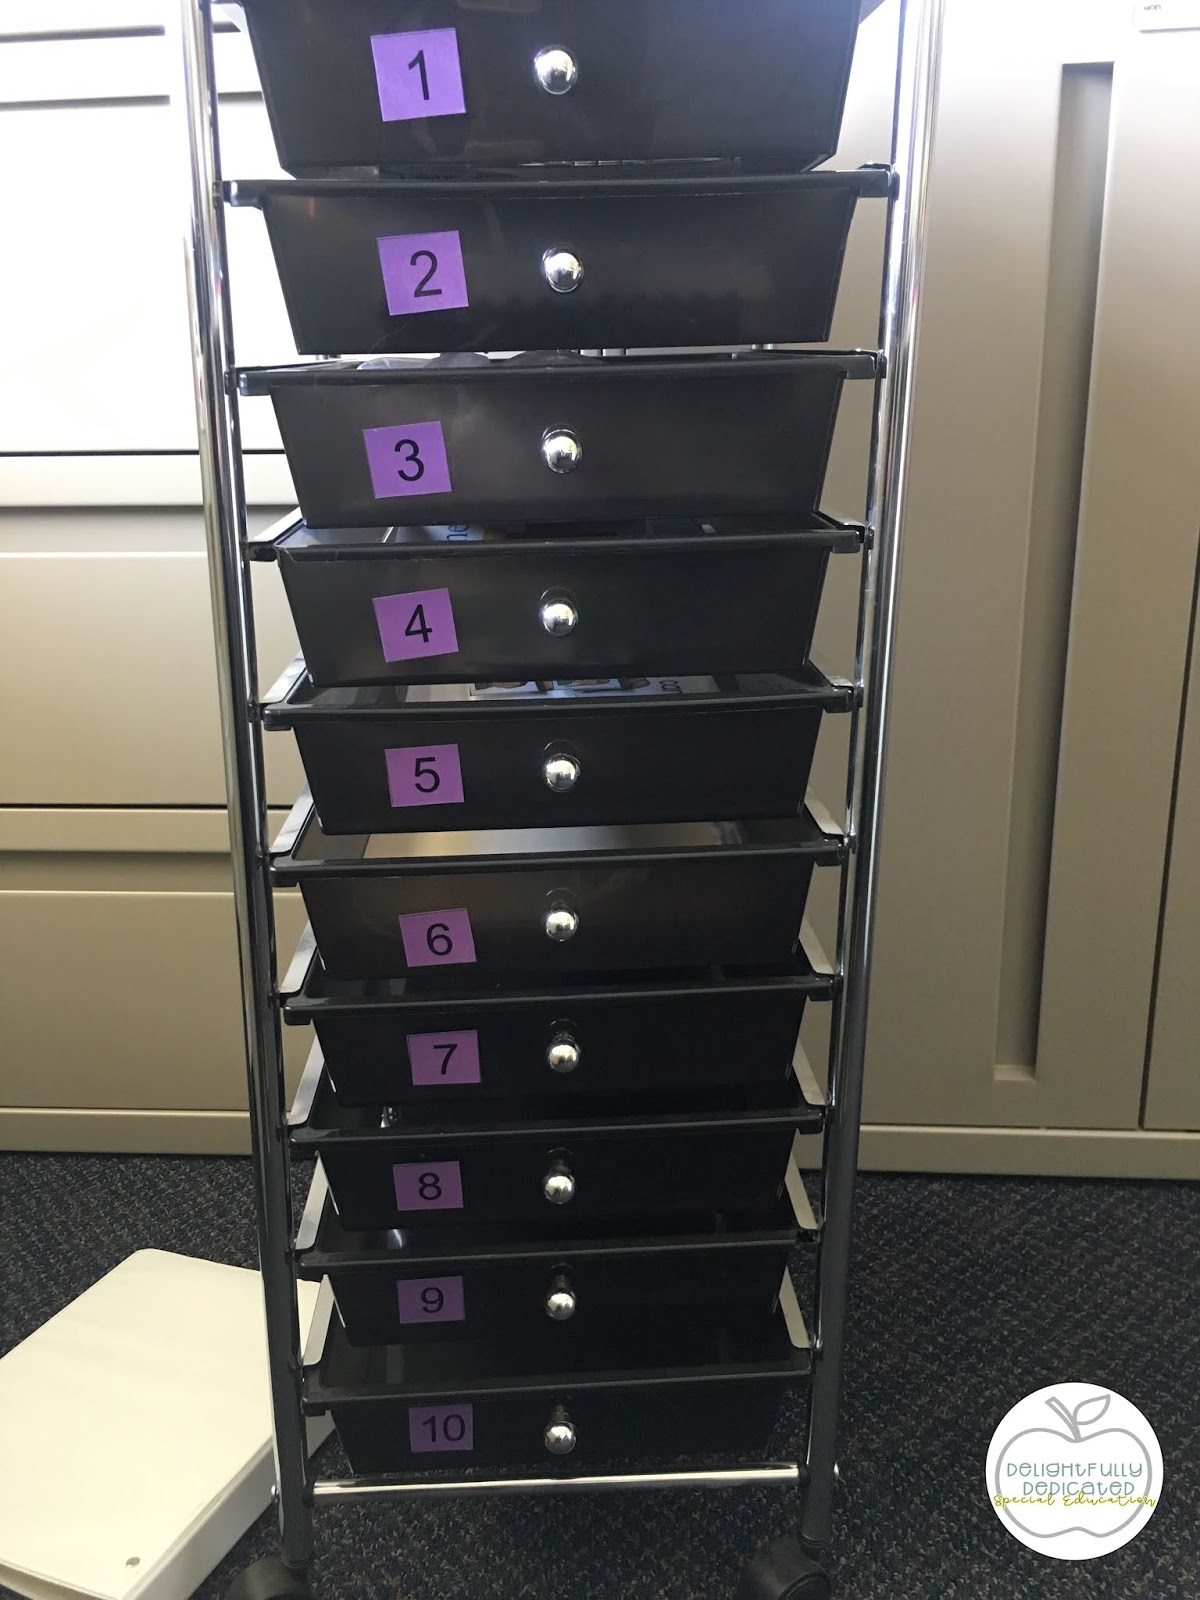
1) IEP Goals Math

 2) IEP Goals Reading

I set up my two IEP goal tables the same way. I use a 10 Drawer Seville Cart, add numbers to each drawer, and assign my students various activities based on their IEP goals. I use this assignment sheet to assign my students different activities based on their specific goals. If two students have similar IEP goals, I assign them both the same drawer number. In addition to the goal work, I place one thematic activity based on the unit that we are working on in one drawer of the cart. This is an activity the my students can work on once or twice during the week instead of working on their goal work. Both of these tables have a correlating binder which includes the assignment sheet, student IEP goals, and data collection pages.


*sample activity sheet with fake student names and fake student goals. You can download this sheet for FREE here. 
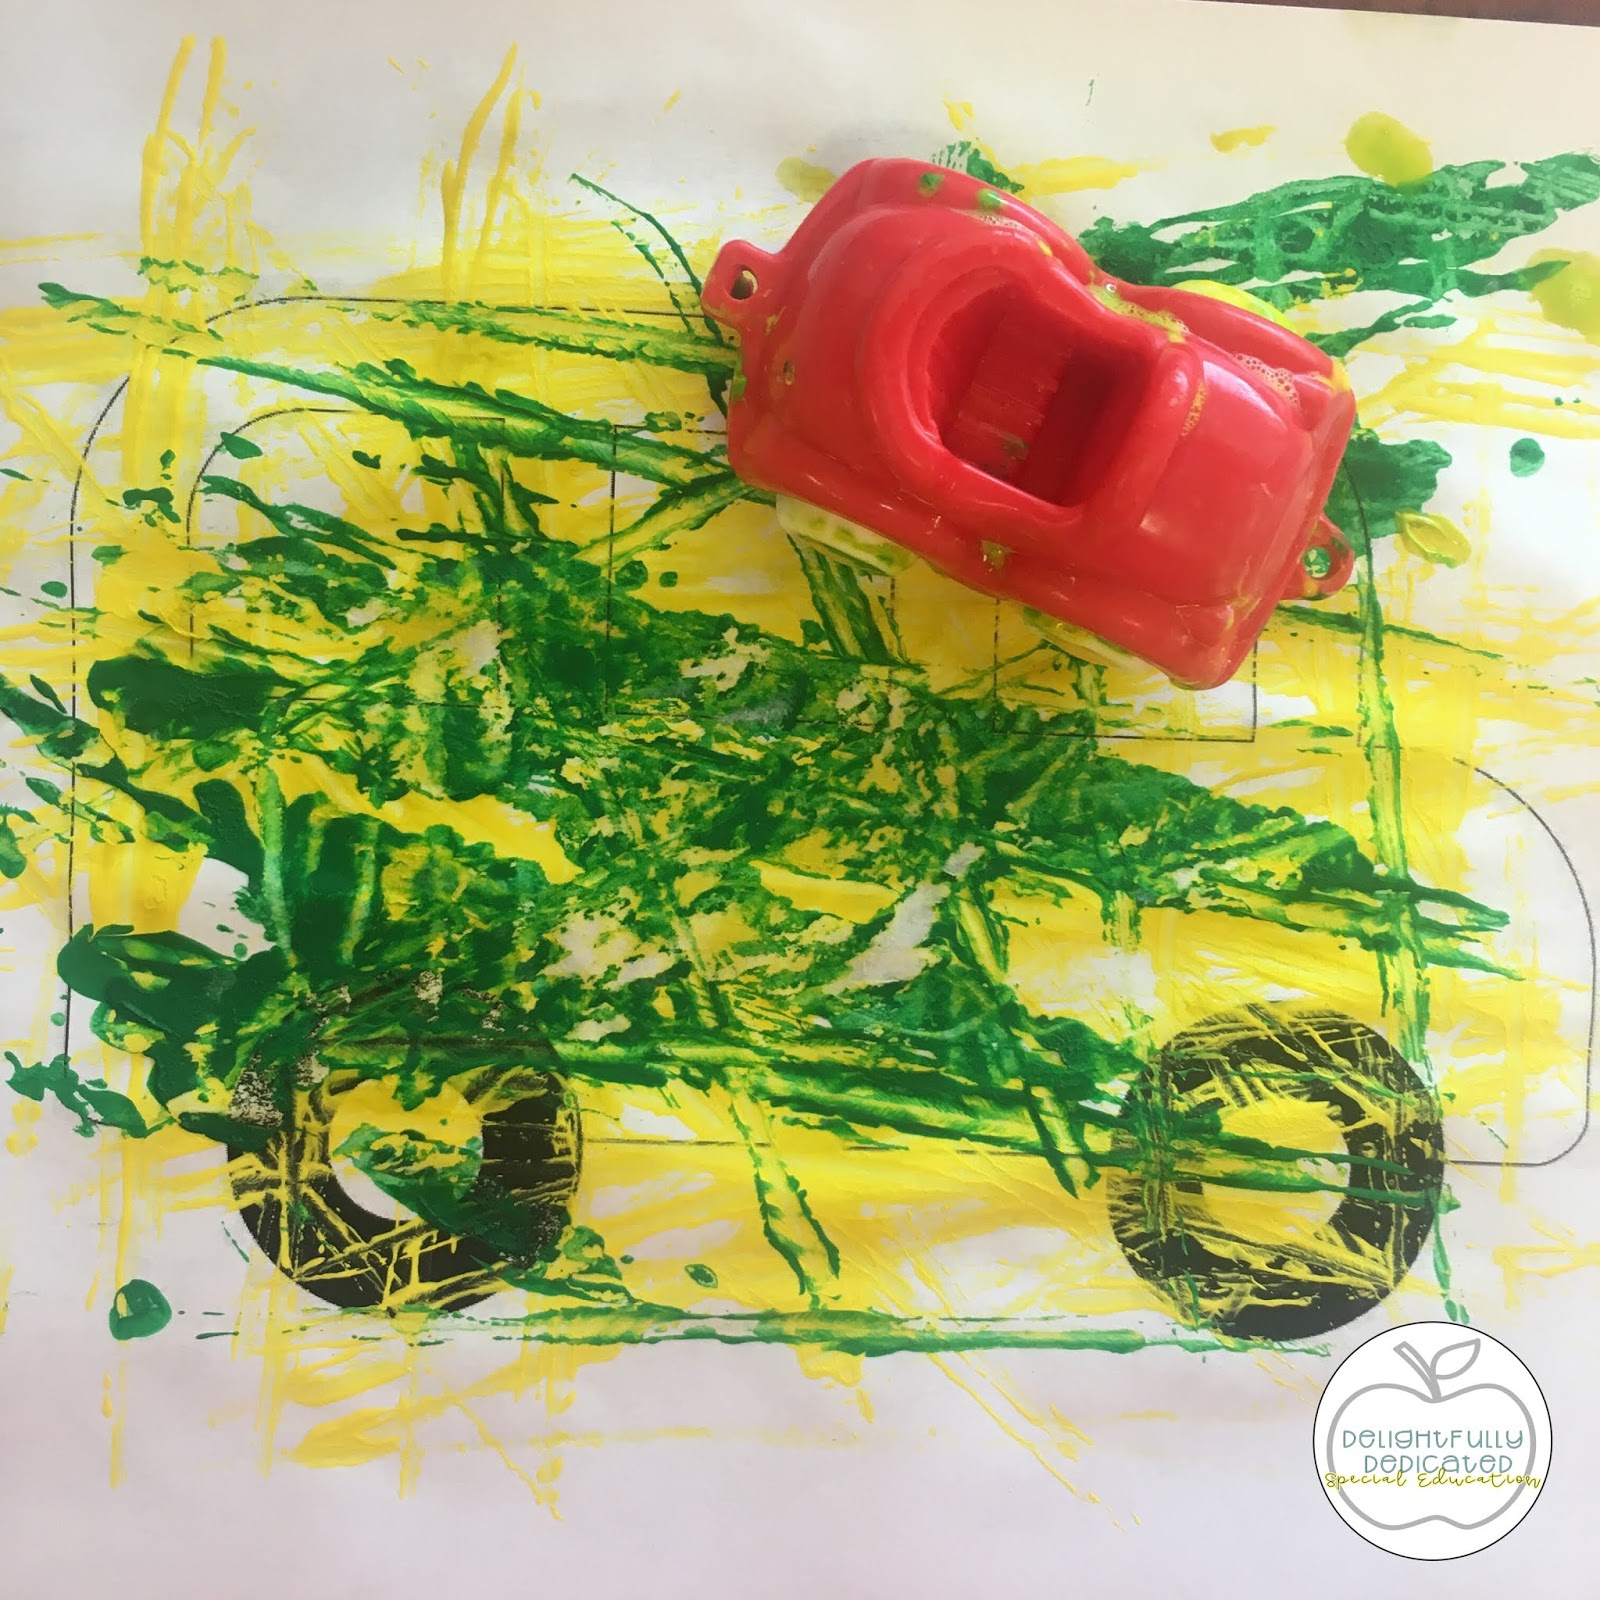
3) Art/Fine Motor

This is probably my favorite rotation table! I love planning fun crafts and art projects. I use Pinterest to find many of my activities. I try to find activities that challenge my students to touch a variety of medias and practice a variety of fine motor skills (cutting, tracing, gluing, etc.) We only do ONE art project each week. I break the art project up into small steps for the students to accomplish each day. Once the students have completed their art project, I have cutting pages, tracing pages, and other fine motor pages in a binder that students can work on. These FREE brain boxes are also a perfect addition to your art/fine motor center. And lastly, don't forget the painting smocks to help keep your students clean!


Second round of rotations: 

1) Teacher Table (Learning without Tears)

I LOVE Learning without Tears (formerly Handwriting without Tears). I have realized through the years, that it is best implemented in a small group setting. This year, I will be leading a Learning without Tears center each day. I simply follow the teachers guide as I lead this center.


2) Social Skills

We use Second Step for our social skills curriculum, but this center is focused on peer interaction in our kitchen area. Students are prompted to share, take turns, and pretend play. All such skills can be very challenging. This center is simple and requires little to no prep. I simply switch out the toys and manipulatives depending on the theme of the month. For example, when we are studying healthy bodies, we have a doctors set out for the students to interact with.

3) Building Blocks

This is another fine motor center; however, we use no pencils or papers in this center. Students are challenged to participate in hands-on activities that challenge students to use their fine motor skills.


4) Sensory Table

This is another really fun center. We have a wonderful sensory table that I fill with various sensory materials each month. We use rice, beans, sand, magnetic letters, thematic materials, and all sorts of other things to make this center fun and interactive! My students LOVE this center.


I hope that this blog post got you thinking about your small group rotation activities. Happy planning! 

0

My Back to School WIsh List

Wednesday, June 20, 2018

1. Vinyl Envelopes

 I use these to hold my schedule visuals/icons that I use throughout the day. 


2. Desk Calendar (Dot Print) 

I love having a calendar on my desk to help me remember important dates and deadlines. 


3. Lesson Plan Book (Dot Print) 

This was the lesson plan book that I used last year (2017-2018) and I loved it! 


4. Divider Sheet Protectors 

I love these divider sheet protectors. They are great for holding student work samples and student data throughout the year. 


5. Sheet Protectors

You can never have enough sheet protectors. When I do not have time to laminate something, I often put it in a sheet protector instead.


6. Round Neon Labels

From art projects to labeling books, these are a must have in your classroom!


7. Manual Binding System

This is compact and easy to use.


8. ProClick Spines

These click right into place and hold papers securely. 


9. Sharpie Liquid Highlighters

I use these all the time for various projects in my classroom! 

0

Color Coded Classroom

Wednesday, March 14, 2018
I have almost completed my first year as an Early Childhood Special Education teacher. I taught the older grades in the years prior to this one. In regards to teaching your little ones (or bigger ones) to use visual schedules and transition cards, one of the biggest tips I can give you is to color code your classroom!


It's SO simple!

1. Determine what areas you want to have in your classroom. For example, I have various areas in my classroom: the library, the whole group area, the direct instruction area, the math table, the reading table, the art table, the sensory table, the social skills area, and the play zone.

 *This is an example of how I planned out the areas of my room. It looks a bit different than this now, but this was how I brainstormed what areas I wanted and where to put each area. 

2. Assign each area in your classroom a color. For example, the library could be the yellow zone, the whole group area could be the white zone, the direct instruction area could be the blue zone, etc.

*This is an example of my classroom. As you can see, the various colors are indicated by the lanterns above each center. I also use the correlating bulletin board paper at each center when possible.

3. Set-up a visual color system for your students. This will include color coded schedule icons and color coded signs. The color coded schedule icons will go on your student's schedules. I have also included shapes with my system so that my students can be practicing colors and shapes throughout their day. Check out my transition color coded system here.  For all of my other schedule icon needs (i.e. recess, snack, bathroom, sensory room, etc.), I use Christine Reeve's Autism Pre-K- Elementary Classroom Visual Bundle.

*This is an example of my student schedules. As you can see, I use a mixture of color coded visuals and picture visuals. 

The color coded signs will be posted at each center with velcro attached so that your students can match their schedule icon to the appropriate center. This allows your students to practice matching colors (and shapes) throughout their instructional day.

*This is an example of the color coded signs that are placed throughout my classroom. 

4. Go all out! Color coding the areas of your room, especially your center areas, provides your students with the extra visual supports that they may need to distinguish one area from another.  Use color coordinated bulletin board paper. Use color coordinated hanging lanterns. I bought some from Amazon that I love. You can purchase them here. Use color coordinated binders. This helps you and your staff remember which data binder belongs to which table.


0

Google Classroom in Special Education Classrooms

Sunday, February 25, 2018
As a special education teacher, I use Google Classroom daily in my classroom to organize my technological resources. I also use it as a lesson planning tool to help me remember the key concepts and ideas that I want to cover each day in my classroom. I have used Google Classroom for the past three years and cannot imagine a day without it. It also makes having a sub a breeze!

  • You must have a gmail account to set-up a Google Classroom. After setting up your gmail account, go to https://classroom.google.com so that you can begin setting up your Google Classroom.
  • Click on the + in the top right hand corner to create a new classroom. 

  • Select "Create class."


  • If you are not using your school gmail account, the above notice will pop up. Follow the instructions and links to set-up a G Suite for Education if you will be allowing your students to access your Google Classroom. Once your G Suite for Education is set-up, you can begin adding links and documents to your google classroom. 


  • Name your class. 


  • Decorate your class. You can choose a theme or upload your own image. 


  • Begin uploading your technological resources for your classroom. Click on "Create assignment" and then title it based on classroom activity (i.e. Circle Time #1, Quiet Time, Circle Time #2, etc.)


  • You can add attachments from your computer, items from your google drive, youtube videos, or other links. 

    • Once all my links are posted, I click "Add class comment" and add notes to myself for each day so that I remember what I want to include in that activity each day. This prevents me from having to carry around my lesson plan book all day. 


    Here is an example of a Google Classroom that is set-up for an Early Childhood Special Education Classroom.


    0
    Copyright Delightfully Dedicated: 2015. Powered by Blogger.